 |
 |
Projects and Works in Progress
Electronics
Being of the DIY type, we chose to "ala-carte" some of the many options offered by the factory and complete the installations ourselves. Interior work included installing the stereo and the TV, with a microwave to follow one of these days.
The stereo, TV installs went pretty smoothly with no surprises. Actually, there were a few, but of the pleasant variety. The factory had run all the necessary wiring as part of their normal harnessing, so these projects actually went a lot easier than expected.
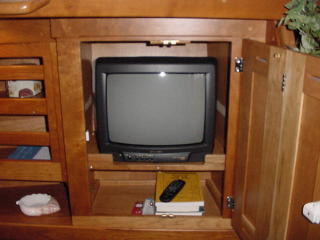
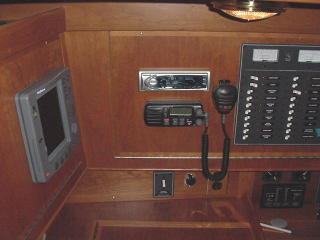
We mounted the stereo at the nav station and only had to pull the wiring back from the "entertainment" cabinet in the starboard salon to do the hookup. Speaker wires were already run to the forward bulkhead and the cockpit, so the job really was a no-brainer. TV went much the same, although we did have to do a bit of minor surgery to relocate the shelf in the cabinet. We decided to forgoe the combo TV/VCR unit and just went with a low end 13" color model instead. This worked out fine even leaving some extra space in the cabinet for books. In the future we may hang a DVD player under the shelf.
 |
 |
Infrared Repeater
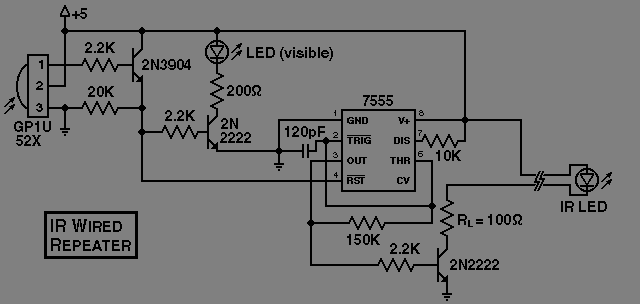
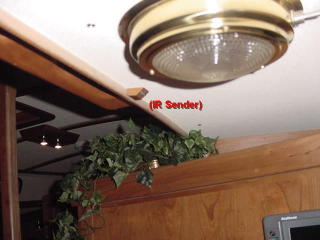
We did outsmart ourselves a bit with the stereo only realizing afterwards that the infrared remote wouldn't work from the salon With the head unit at the nav station, there was no line of sight to the sensor. How to fix? A search on the net produced this nifty schematic which we quickly turned into a hobby project for about $20 in parts at the local Radio Shack.
Commercial units that perform the same function are available for about $100 or so, but surprisingly, this home brew circuit works pretty well. Future plans are to mount a second unit in the cockpit, so we can control the stereo from there as well.
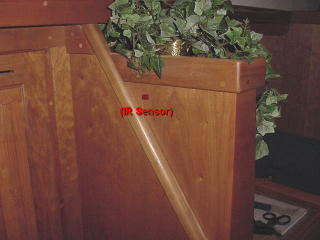
The sensor was mounted through the back of the nav station island facing the forward salon and the repeater was mounted in the coaming trim piece above the stereo. Now the stereo can be controlled from anywhere in the main cabin and vee berth.
 |
 |
Instrument Pod & Cockpit
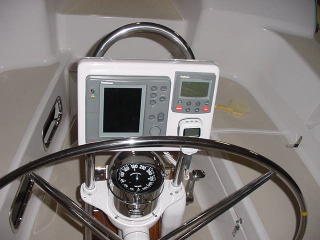
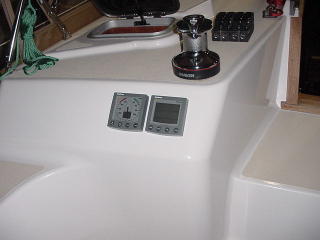
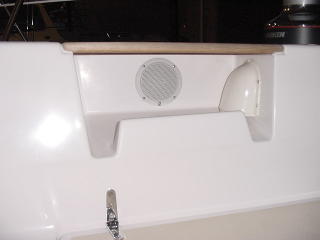
Nothing special here. As can be seen, we did choose to mount the VHF RAM microphone on the pod, although we were a bit concerned that it might produce some magnetic interference with the compass. We found that this was not an issue and the compass was easily adjusted to within a degree or so of variation. Other decisions here were to mount the stereo speakers in the coamings instead of the usual location behind the wheel and to choose the location of the instruments. Since the Raytheon chartplotter allows all data to be repeated at the wheel, we didn't feel the need to centrally mount the instruments over the companionway. Besides, I don't know if my aging eyes will see that far anyway and it did give us a cleaner install for the dodger.
 |
 |
|
 |
||
Engine Insulation
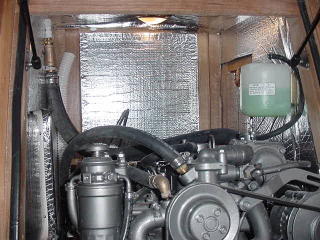
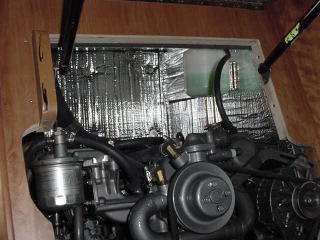
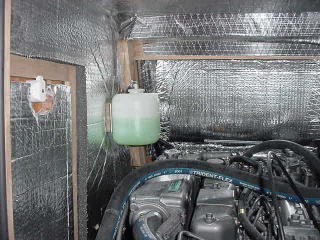
Tartan builds a beautiful boat, but one item that's not on their radar screen is the soundproofing of the engine compartment. After living with a very noisy engine last summer, we decided to give the compartment a makeover. This was the biggest project undertaken, requiring about 2 weeks of steady work to complete. The 1" light factory insulation was removed and replaced with 2" heavy composite vinyl barrier foam from Soundown. "Before" shots on the left, "after" on the right.
 |
 |
 |
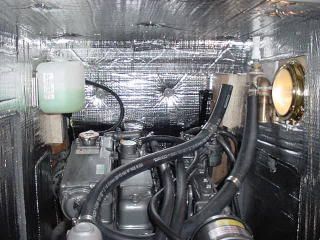 |
| The factory installation was neat and workmanlike, but otherwise best described as spartan. After lots of agonizing, we decided to bite the bullet and go for a total refit, rather than just fill in the gaps. On Soundown's recommendation, we used their fender washers and 2" fasteners to supplement the contact adhesive securing the larger pieces. The project is not quite complete as shown - finish taping of the exposed edges is the final step. | 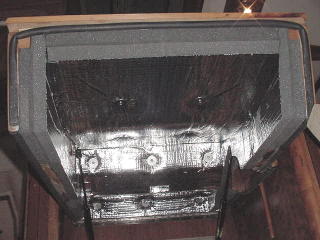 |
This was a tough job and required a lot of planning, fitting and yeoman service from Hellier's bandsaw, but we're hoping the results will prove it worthwhile. The 2002 season will tell the tale.
Ferret-Proofing
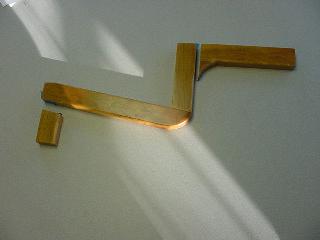
Since adopting "CJ", we've really come to appreciate the verbs "ferret" and "weasel". This little guy has shown an amazing propensity to get into unusual places on the boat. In one rather unforgettable episode, he managed to get between the deck and the aft cabin liner. Of course, we only discovered this after not being able to find him one evening when we were getting ready to turn in for the night. After some frantic searching, we finally tracked him down, pulled the winch access panel and coaxed him out. So here's our ferret mod:
 |
|
I would never have believed he could get into the small gap between the aft bulkhead and the liner, but it won't be a problem in the future (we hope)... It's a good thing we had some 5/4 cherry scraps lying around. I only wish I was as small and nimble as CJ when it came time to fit these pieces in here! |
Works in Progress:
Electrical/Charging System
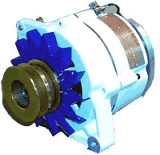
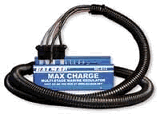
We tend to spend a lot of time on the hook during our summer cruising. The house bank totals 450AH comprised of 2-8D gels coupled to a Heart 2000 inverter along with a separate gel starting battery. Quite a nice set up with plenty of power for our needs. But unfortunately, the factory supplied alternator, an internally regulated Hitachi 80 amp model is not quite up to the task. We've found that when when we're on the hook, the bank is continually undercharged and after motoring for a long distance, in danger of being overcharged. The solution: an Amptech 125 high output alternator with a Balmar 612 external regulator which should treat our gelcells much more kindly.
 |
 |
We also plan to replace the supplied 1-2 switch with the Blue Sea parallel battery switch to make the system a little more intuitive and easier to use.
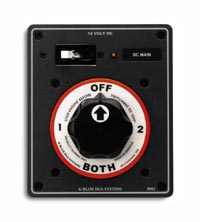 |
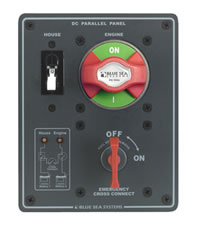 |
We'll probably start this project right after spring commissioning, once the boat's back in the water (and replace these graphics with a few more before and after photo's).